Getting started with CircuitPython
This section of the documentation takes you through getting up and running with CircuitPython on nRF52840 Connect Kit.
Requirements
Before you start, check that you have the required hardware and software:
- 1x nRF52840 Connect Kit
- 1x USB-C Cable
- A computer running macOS, Linux, or Windows 7 or newer
Installing CircuitPython
The pre-built CircuitPython firmware in .uf2-format is located in firmware/circuitpython/.
Download the latest firmware and complete the following steps to flash the firmware:
-
Push and hold the USER button and plug your board into the USB port of your computer. Release the USER button after your board is connected. The RGB LED turns green.
-
It will mount as a Mass Storage Device called UF2BOOT.
-
Drag and drop
circuitpython-nrf52840_connectkit-en_US-<version>.uf2onto the UF2BOOT volume. The RGB LED blinks red fast during flashing. -
Reset the board and CircuitPython will start running. It will mount as a Mass Storage Device called CIRCUITPY.

Coding with Mu Editor
Mu Editor is a simple Python code editor for beginner programmers. Go to Mu Editor Download page, choose your operating system and follow the instructions to install the latest Mu Editor.
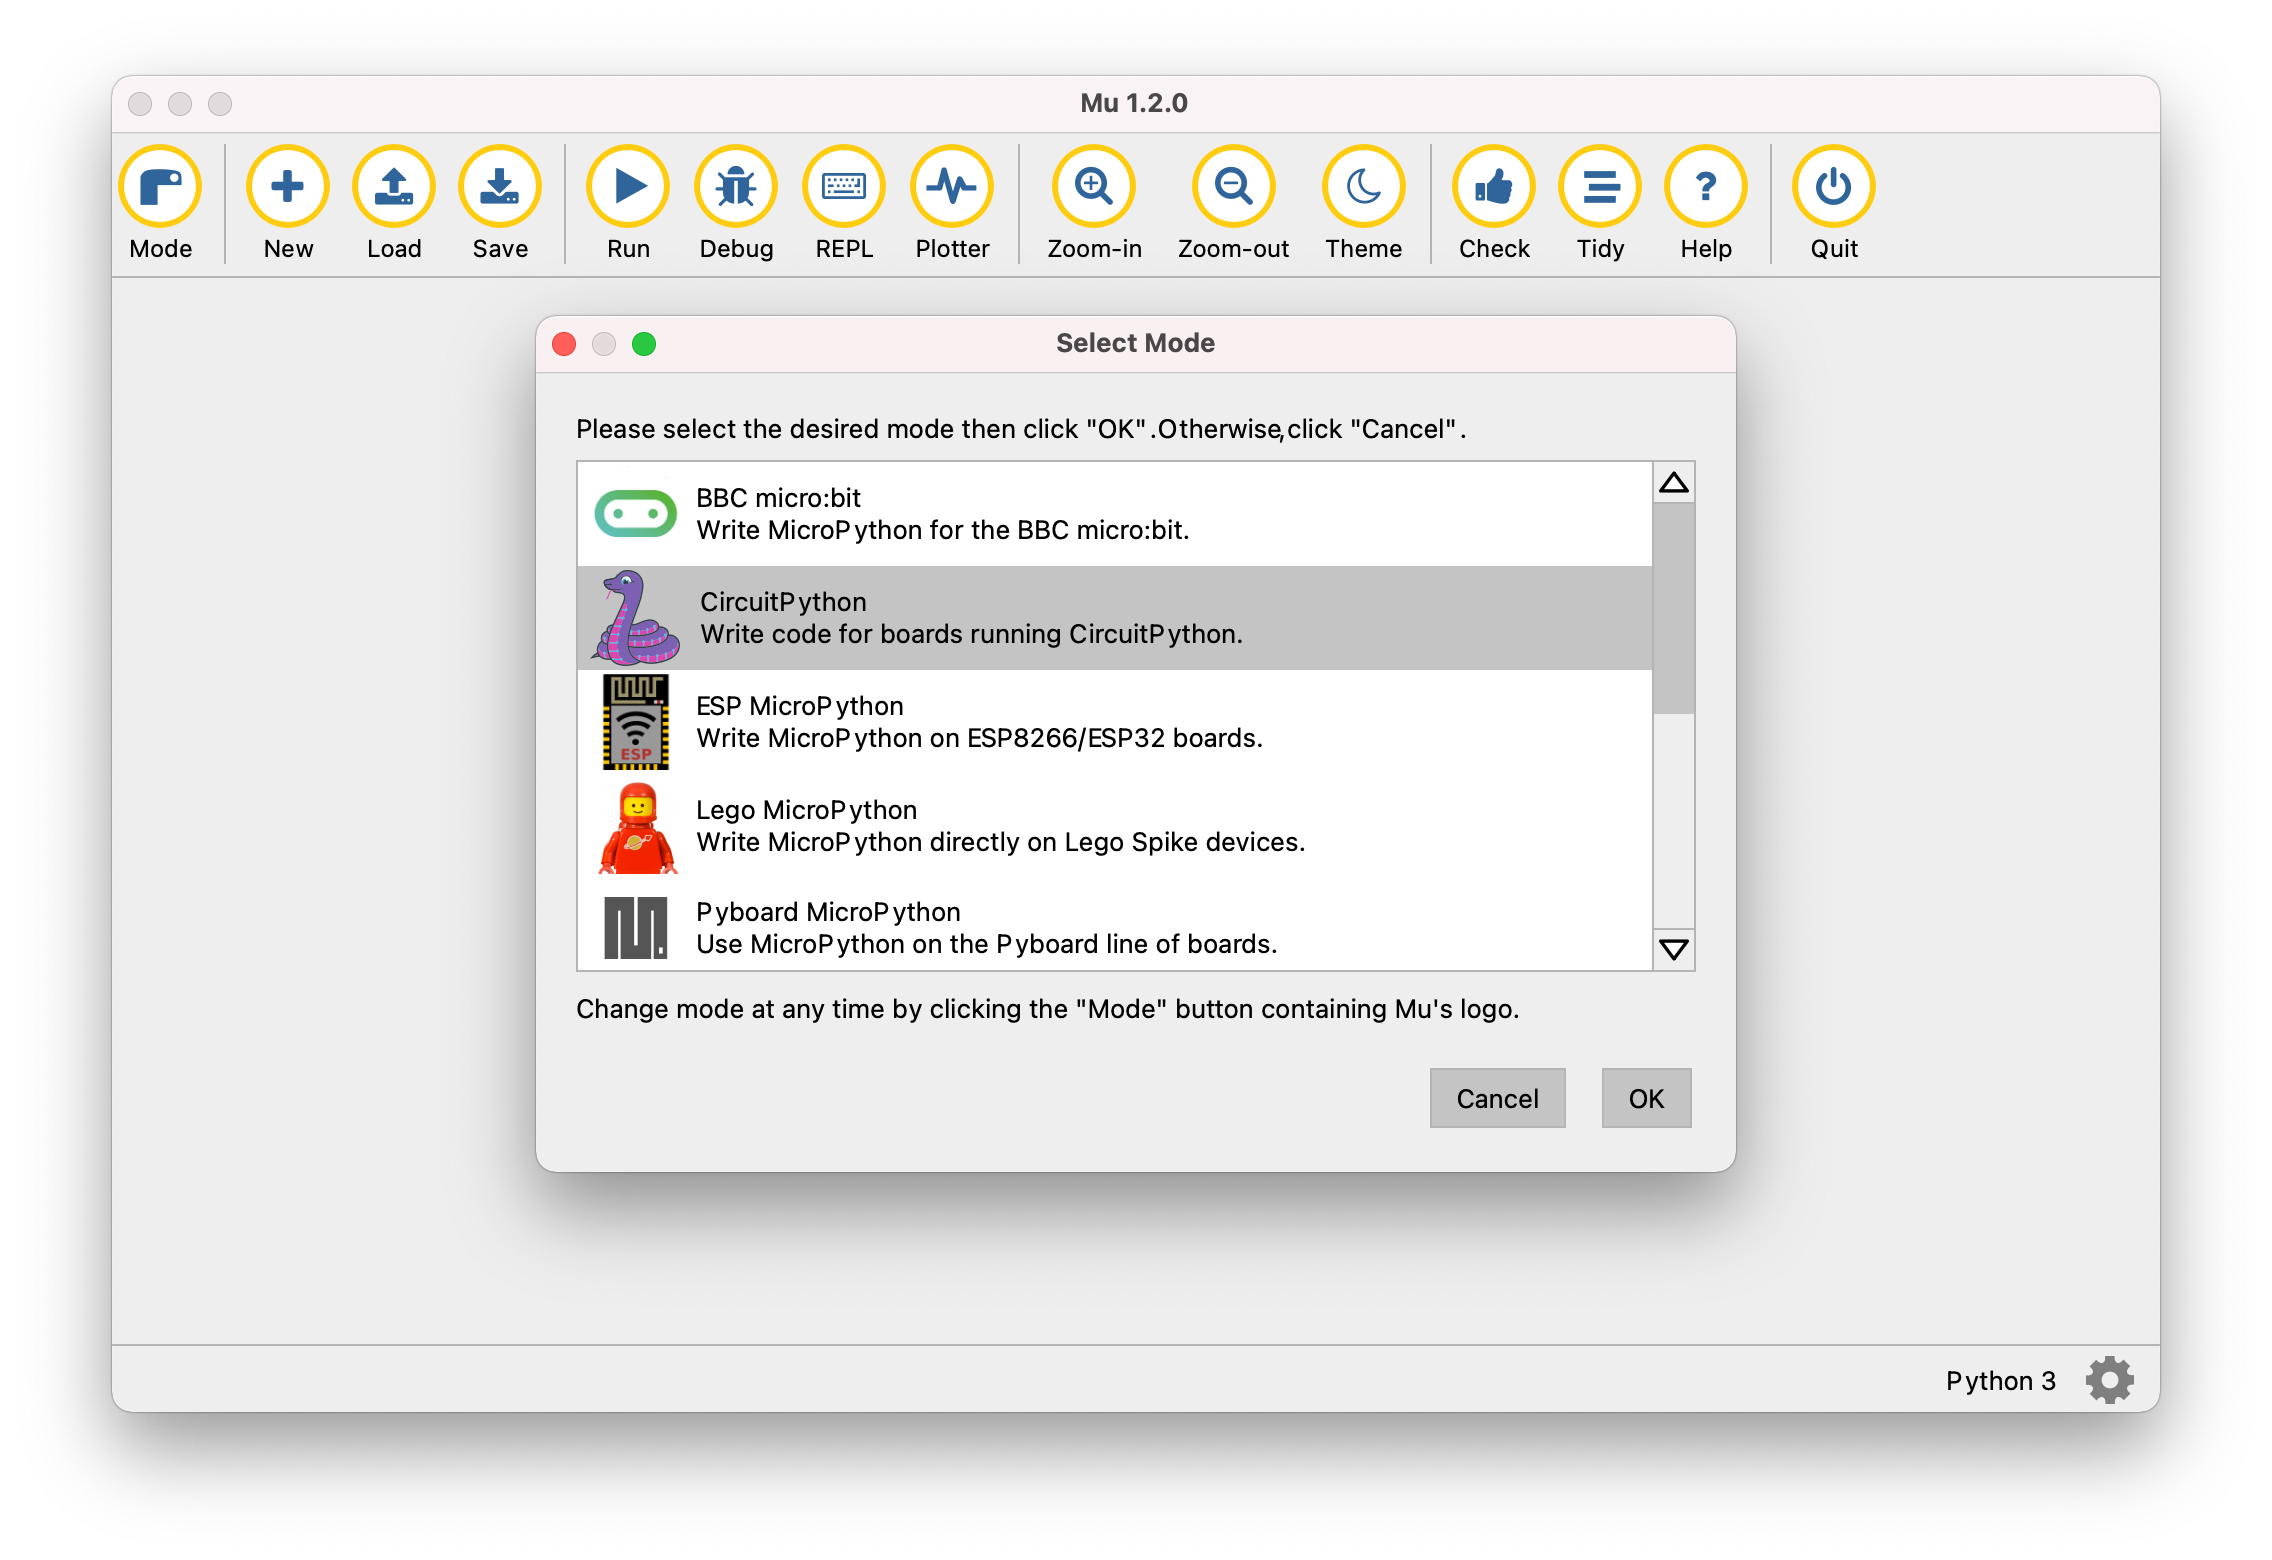
Start Mu Editor, click Mode on Top Menu. You will be prompted to Select Mode. Select CircuitPython and click OK.

In the text editor, try some Python code:
Click Save on Top Menu. A window will appear. Give the name code.py for your code and save it onto the CIRCUITPY drive. Your code will run as soon as the file is done saving.
Click Serial on Top Menu to open a serial data connection to the board. This will result in a new pane between the text editor and Mu’s footer, which prints the data from the board.

Using CircuitPython REPL
The CircuitPython REPL (Read-Evaluate-Print-Loop) allows you to enter individual lines of code and have them run immediately. It's really handy if you're running into trouble with a particular program and can't figure out why. It's interactive so it's great for testing new ideas.
To use the REPL, you first need to be connected to the serial console. Here are the common ways you can use to establish a serial connection:
Mu Editor has a Serial Console, which can be used to interact with CircuitPython REPL.
Click Serial on the Mu Editor's Top Menu to open a serial data connection to the board. This will result in a new pane between the text editor and Mu’s footer:
On macOS/Linux, you can open up a terminal and run:
Where <serial-port-name> is the correct serial port that your computer uses to communicate with the board.
On Windows, you can use PuTTY to interact with CircuitPython REPL.
Start PuTTY, configure the correct serial port and click Open:

Where <serial-port-name> is the correct serial port that your computer uses to communicate with the board.
Once that connection has been established, type CTRL + C to drop into the REPL.
Try to write some Python code in the REPL, then press Enter :
Return to the Serial Console
When you're ready to leave the REPL and return to the serial console, simply press CTRL + D . This will reload your board and reenter the serial console. You will restart the program you had running before entering the REPL.