Zephyr
A scalable RTOS supporting multiple hardware architectures, optimized for resource constrained devices, and built with security in mind
![]()
Introduction
The Zephyr OS is based on a small-footprint kernel designed for use on resource-constrained systems: from simple embedded environmental sensors and LED wearables to sophisticated smart watches and IoT wireless gateways.
The Zephyr kernel supports multiple architectures, including ARM Cortex-M, Intel x86, ARC, NIOS II, Tensilica Xtensa, and RISC-V.
Distinguishing Features
The Zephyr kernel offers a number of features that distinguish it from other small-footprint OSes:
- Single address-space
- Highly configurable / Modular for flexibility
- Cross Architecture
- Compile-time resource definition
- Minimal and Configurable error checking
- Memory Protection
- Native Networking Stack supporting multiple protocols
- Native Linux, macOS, and Windows Development
- Extensive suite of services
For more details, please visit Zephyr Project site.
Getting Started
Checking out the repository
Clone the Zephyr Project repository on GitHub or download it as a zip package and put its contents to your working directory.
$ git clone https://github.com/zephyrproject-rtos/zephyr.git
Setting up the development environment
The Zephyr project uses CMake as a tool for managing the building of the project. CMake is able to generate build files in different formats (also known as “generators”), and the following ones are currently supported by Zephyr:
make: Supported on UNIX-like platforms (Linux, macOS).ninja: Supported on all platforms.
The setup process for the development environment depends on your operating system. Please choose your host operating system. The setup instructions for each operating system walk you through how to set up the development environment.
Windows
The easiest way to install the dependencies natively on Microsoft Windows is to use the Chocolatey package manager (Chocolatey website).
-
Install Chocolatey by following the instructions on the Chocolatey install website.
-
Open a Command Prompt (cmd.exe) as an Administrator.
-
Optionally disable global confirmation to avoid having to add -y to all commands:
$ choco feature enable -n allowGlobalConfirmation -
Install CMake:
$ choco install cmake --installargs 'ADD_CMAKE_TO_PATH=System' -
Install the rest of the tools:
$ choco install git python ninja dtc-msys2 gperf doxygen.install
-
Optionally install the tools required to build the documentation in
.pdfformat:$ choco install strawberryperl miktex rsvg-convert
-
Close the Command Prompt window.
-
Open a Command Prompt (cmd.exe) as a regular user.
-
Install the required Python modules:
$ cd ./zephyr $ pip3 install -r scripts/requirements.txt -
Download and install the GNU Arm Embedded Toolchain (install to
c:\gnuarmemb). -
Within the Command Prompt, set up environment variables for the installed tools and for the Zephyr environment:
$ set ZEPHYR_TOOLCHAIN_VARIANT=gnuarmemb
$ set GNUARMEMB_TOOLCHAIN_PATH=c:\gnuarmemb
macOS
First, install the Homebrew (The missing package manager for macOS). Homebrew is a free and open-source software package management system that simplifies the installation of software on Apple’s macOS operating system.
To install Homebrew, visit the Homebrew site and follow the installation instructions on the site.
After Homebrew was successfully installed, install the following tools using the brew command line:
$ brew install cmake ninja dfu-util doxygen qemu dtc python3 gperf
$ cd ~/zephyr   # or to the folder where you cloned the zephyr repo
$ pip3 install --user -r scripts/requirements.txt
Download and install the GNU Arm Embedded Toolchain. Then make sure to add the path to your toolchain to your OS PATH environment variable:
# add the following scripts to ~/.bash_profile
export GNUARMEMB_TOOLCHAIN_PATH="<path to install directory>/gcc-arm-none-eabi-6-2017-q2-update"
export ZEPHYR_TOOLCHAIN_VARIANT=gnuarmemb
Linux
Before proceeding with the build, ensure your OS is up to date. On Ubuntu, you’ll first need to update the local database list of available packages before upgrading:
$ sudo apt-get update
$ sudo apt-get upgrade
Install the required packages in a Ubuntu host system with:
$ sudo apt-get install --no-install-recommends git cmake ninja-build gperf \
  ccache doxygen dfu-util device-tree-compiler \
  python3-ply python3-pip python3-setuptools python3-wheel xz-utils file \
  make gcc-multilib autoconf automake libtool librsvg2-bin \
  texlive-latex-base texlive-latex-extra latexmk texlive-fonts-recommended
Install additional packages required for development with Zephyr:
$ cd ~/zephyr  # or to your directory where zephyr is cloned
$ pip3 install --user -r scripts/requirements.txt
Download and install the GNU Arm Embedded Toolchain. Then make sure to add the path to your toolchain to your OS PATH environment variable:
# add the following scripts to ~/.bash_profile
export GNUARMEMB_TOOLCHAIN_PATH="<path to install directory>/gcc-arm-none-eabi-6-2017-q2-update"
export ZEPHYR_TOOLCHAIN_VARIANT=gnuarmemb
Compiling and running an example
Now you can try to build one of the examples. Will use the hello_world example here to keep it simple.
Set up your build environment:
$ cd <zephyr git clone location>

# On Linux/macOS
$ source zephyr-env.sh

# On Windows
$ source zephyr-env.cmd
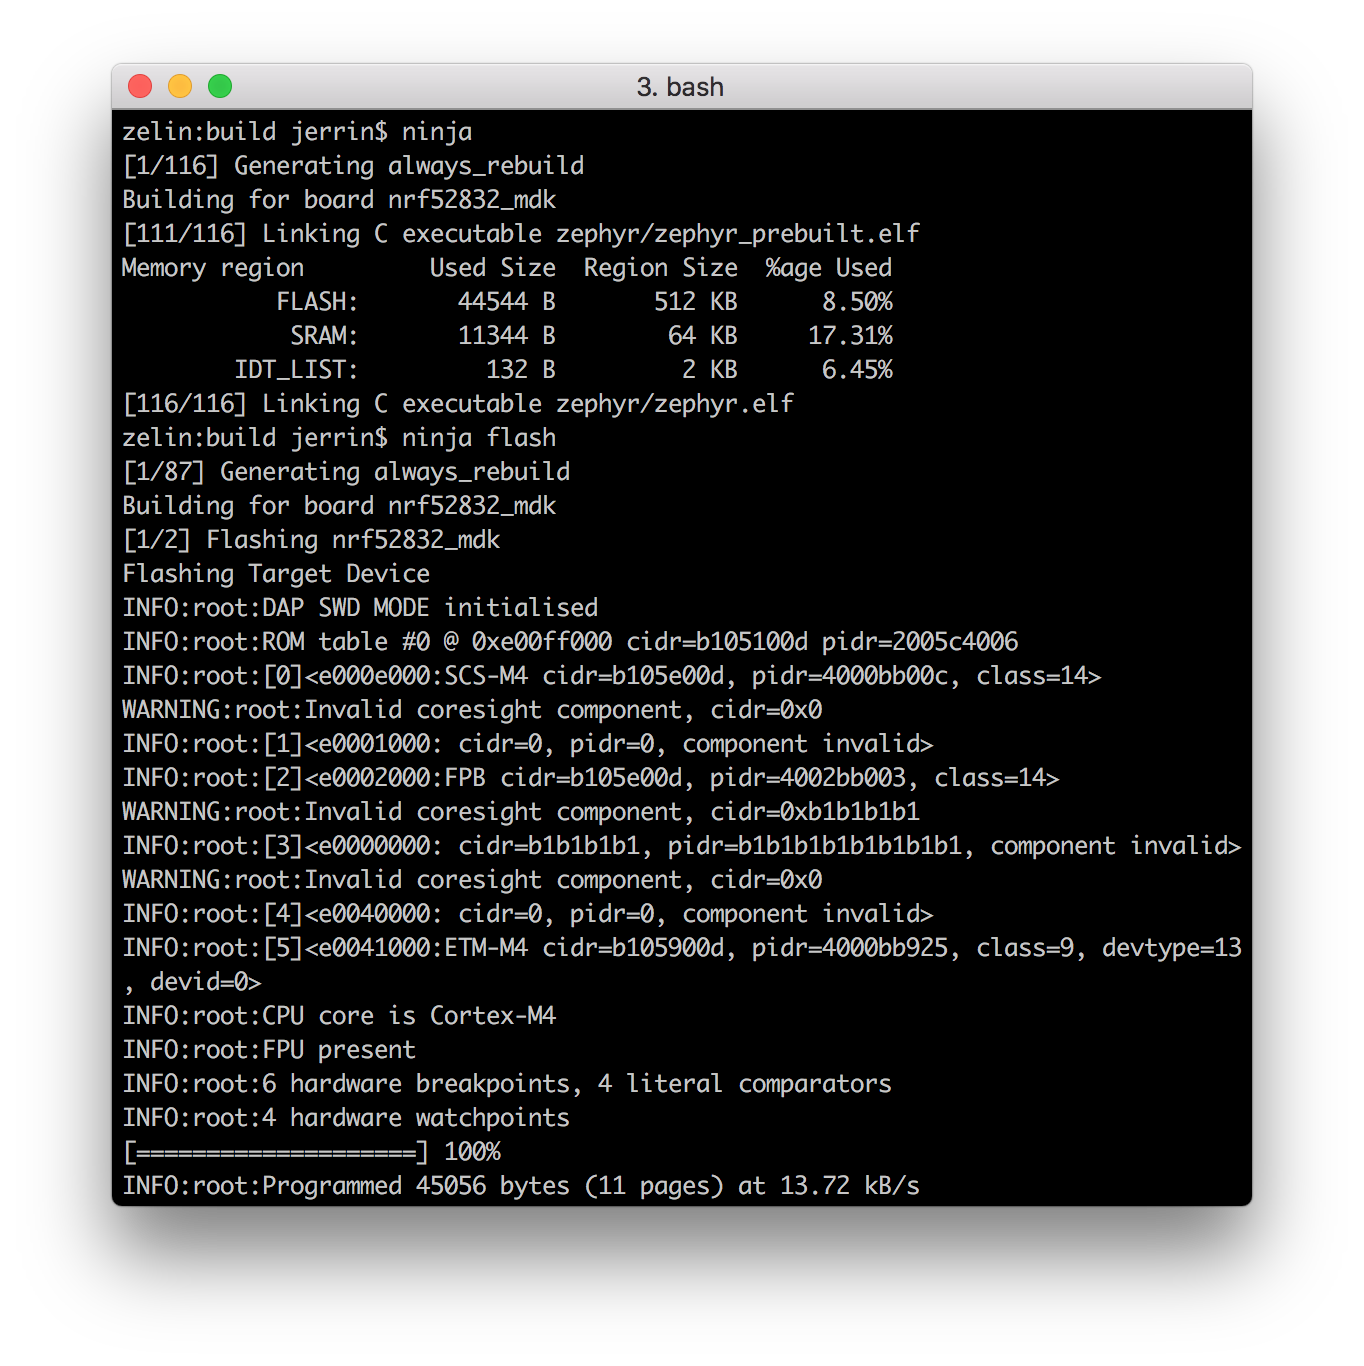
Create a build folder in the example directory, where all artifacts generated by the Ninja build system are stored, such as:
$ cd nrf52832-mdk/examples/zephyr/hello_world/
$ mkdir build && cd build

build$ cmake -GNinja -DBOARD=nrf52832_mdk ..
build$ ninja
build$ ninja flash
Check the board output from serial port, you will see the following messages:
***** Booting Zephyr OS zephyr-v1.13.0-1166-g8b20f9dba *****
Hello World! nrf52832_mdk
That's it! You can also try other examples in the path nrf52832-mdk/examples/zephyr/ or zephyr/samples/.
More examples
Over time, more example applications will be added to the repository. You can star or watch the nrf52832-mdk repository to stay up to date.
Reference
Create an Issue
Interested in contributing to this project? Want to report a bug? Feel free and click here: