Getting started with the nRF52840-MDK Board
Congratulations on getting the nRF52840-MDK!
On this page we'll show you how to connect and power up your nRF52840-MDK, and what to expect when you do so. This will take about 20 minutes.
What's Included
Once you receive your nRF52840-MDK development kit, you will find the following parts:
- The nRF52840-MDK Board
- The USB 3.1 Type-C to USB 2.0 Type-A Male Cable

Connecting the board
Note
You need a reasonably current Mac/Linux/Windows PC and a iPhone or Android phone to perform the following.
You can connect the board by performing the following steps:
-
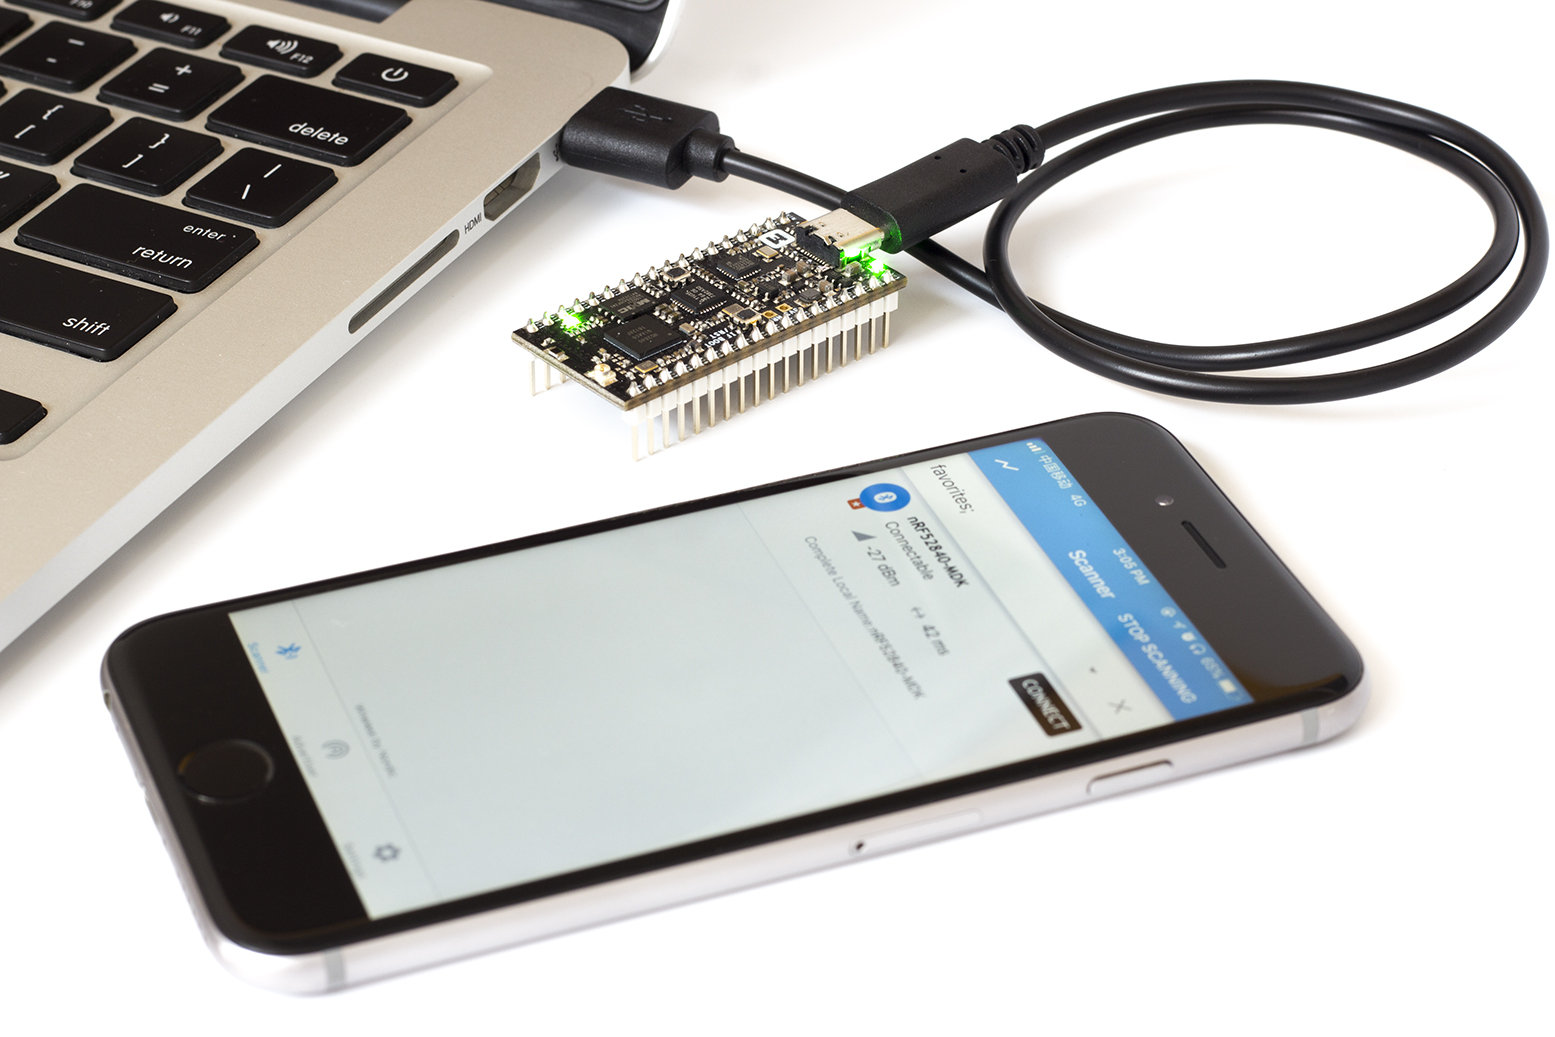
Connect the nRF52840-MDK to one of your PC's USB host ports. This provides power to the board. Observe that two GREEN LEDs are on. One indicates that USB power is good, and another indicates that the application is advertising.
-
Open a file explorer. Confirm that the board has appeared as a removable drive named DAPLINK. This allows you to program the nRF52840 chip. You'll do this under "how to program your nRF52840-MDK" below.
Using terminal applications
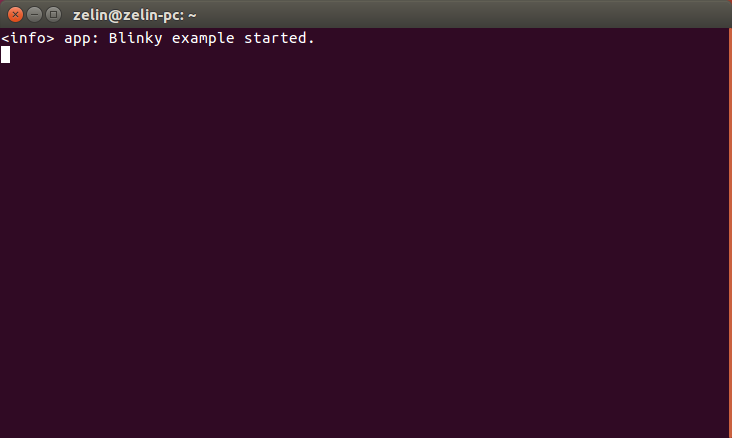
Terminal applications (for example PuTTY or screen) run on your host PC. They provide a window where your board can print messages.
You can connect your board to your computer over USB. This should work out of the box on Linux and macOS, but for Windows earlier than Windows 10, you will probably need to install a serial port driver:
-
Download the Arm Mbed Windows serial port driver.
-
Plug in your board over USB. It mounts as a drive.
-
Close all Explorer windows showing the drive.
-
Run the installer. This may take some time or display a few "unsigned driver" warnings.
Serial configuration
The default setup for the USB serial port is 115200 baud, 8 bits, 1 stop bit, no parity (115200-8-N-1)
On Windows
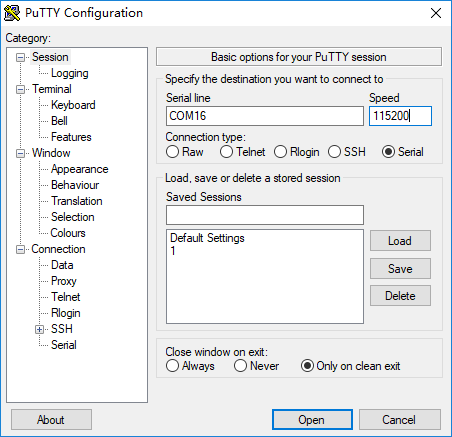
There are many terminal applications for Windows, PuTTY is recommended.
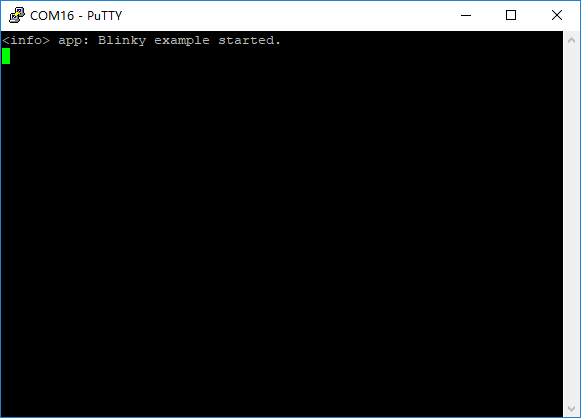
Start PuTTY and open the used COM port with the following configuration. If there is nothing printed, just press RESET button on the board.
On macOS
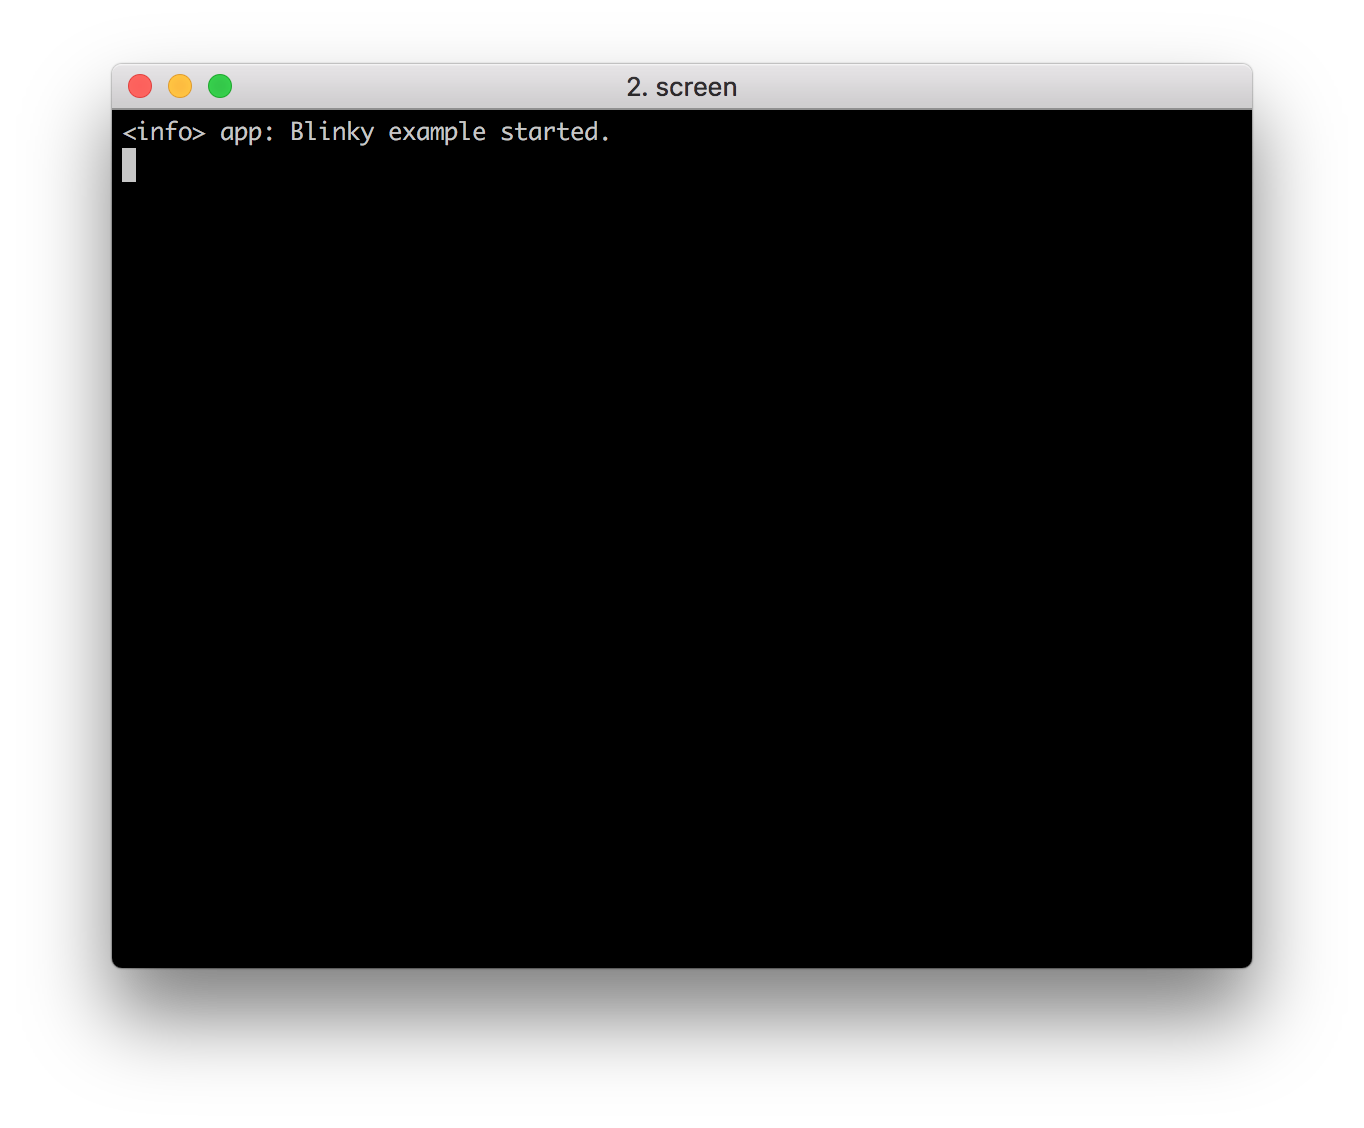
screen should work on macOS. In Terminal, run:
$ screen /dev/cu.usbmodem1412 115200
If there is nothing printed, just press RESET button on the board.
Tip
You can type screen /dev/cu.usb first, and then press tab. The device name will autocomplete.
To end a screen session, type Ctrl + A, and then K. At the bottom of the Terminal window, you should see a [y/n] prompt. Type y.
On Linux
screen should work on Linux. If for some reason it doesn't, you can try one of the following:
Here we will use screen on Ubuntu 16.04 for example. If there is nothing printed, just press RESET button on the board.
$ sudo apt-get install screen
$ sudo screen /dev/ttyACM0 115200
Using nRF Connect
You can also test the application with the nRF Connect mobile app by performing the following steps:
-
Get the nRF Connect app from App Store or Google Play.
-
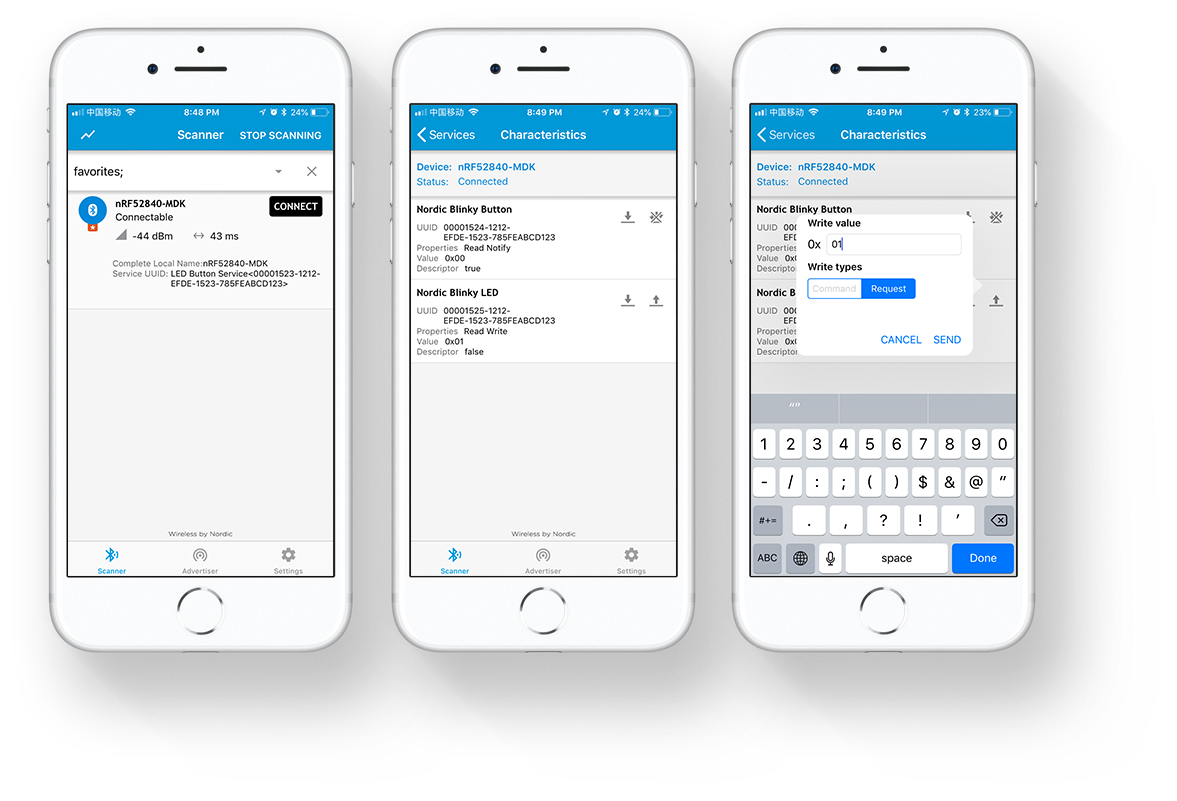
Connect to the device from nRF Connect (the device is advertising as nRF52840-MDK).
-
Observe that BLUE LED is on and GREEN LED is off. This indicates that the connections is established.
-
Observe that the LED Button Service is shown in the connected device and then you can enable services for the Button Characteristic by clicking the Play button.
-
Notifications are received on the Button Characteristic (0x1524) when pressing or releasing the USER Button.
-
Write
01to the Nordic Blinky LED Characteristic (0x1525) and observe that RED LED is turned on. -
Write
00to the Nordic Blinky LED Characteristic (0x1525) and observe that RED LED is turned off.
How to program your nRF52840-MDK
You have the following two options to program your board:
You can take the Heart rate monitor demo as an example.
Note
Make sure you have installed the nRF Toolbox mobile app before you start. Just search nRF Toolbox in the App Store or Google Play.
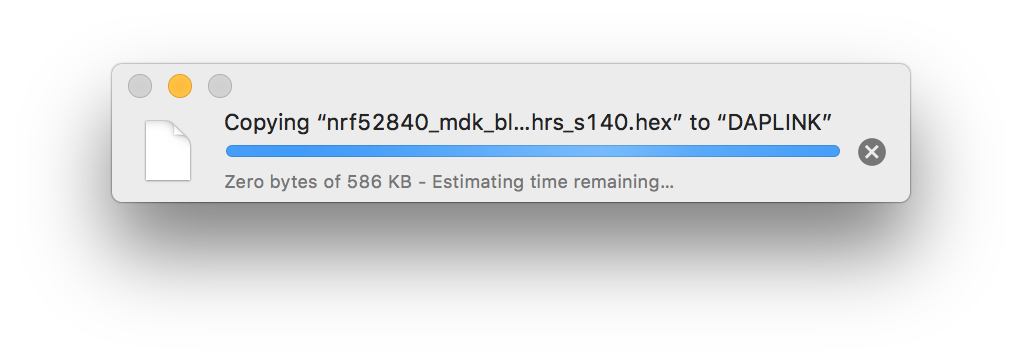
Drag-n-drop Programming
Drag and drop the hex file into the DAPLINK removable drive mentioned above. The file contains firmware which will be automatically programmed onto the nRF52840 SoC. When programming is completed, the removable drive will be re-detected by the computer. The application will run after pressing the RESET button.
Note
You should merge the application and SoftDevice before drag-n-drop programming an example with SoftDevice. mergehex can be used to merge the hex files. You can find it in the nRF5x Command Line Tools.
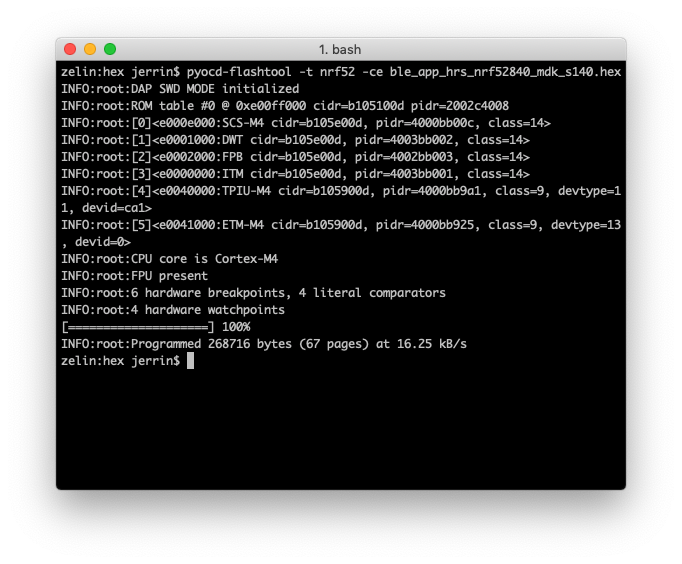
Using pyOCD
pyOCD is an Open Source python 2.7 based library for programming and debugging ARM Cortex-M microcontrollers using CMSIS-DAP. Linux, OSX and Windows are supported.
The latest stable version of pyOCD may be installed via pip as follows:
$ pip install --pre -U pyocd
Alternatively, to install the latest development version (master branch), you can do the following:
$ pip install --pre -U https://github.com/mbedmicro/pyOCD/archive/master.zip
Note
You may run into permissions issues running these commands. You have a few options here:
- Run with
sudo -Hto install pyOCD and dependencies globally - Specify the
--useroption to install local to your user - Run the command in a virtualenv local to a specific project working set.
You can verify that your board is detected by pyOCD by running:
$ pyocd-flashtool -l
and then flash the board by running:
$ pyocd-flashtool -t nrf52 -ce ble_app_hrs_nrf52840_mdk_s140.hex
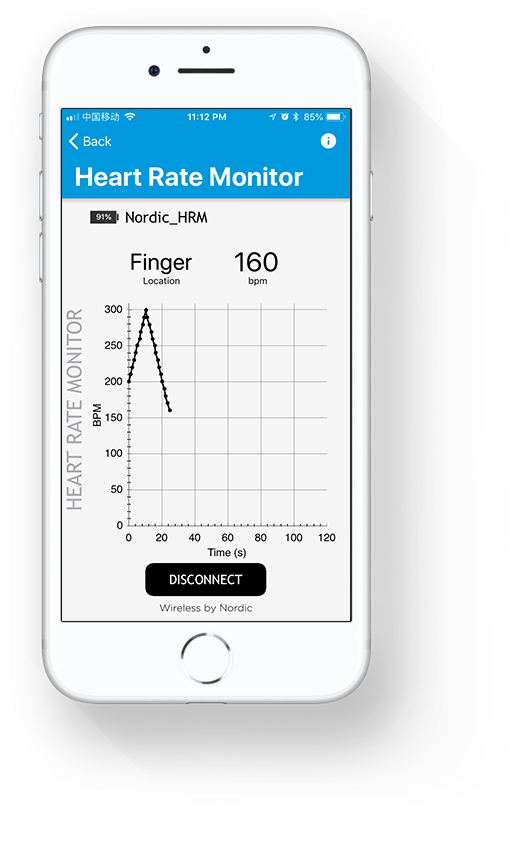
Verify new firmware
After programming the demo firmware, you can interact with the nRF Toolbox mobile app to check if it works correctly.
Open the App and tap HRM icon, and then connect your board which is advertising as Nordic_HRM. The nRF Toolbox app displays the curve.
Clone the repository
Clone the makerdiary/nrf52840-mdk repository or download it as a zip package and put its contents to your working directory.
$ git clone https://github.com/makerdiary/nrf52840-mdk.git
This repository provides documents and example applications that you can run on your nRF52840-MDK to ensure that everything is set up correctly.
Enjoy the demos and your nRF52840-MDK!
Create an Issue
Interested in contributing to this project? Want to report a bug? Feel free to click here: